

16 Aug Save Those Scraps – Cocktail Napkins!
There are some things I will buy for other people but not for myself. What about you?
____________________________________________________
This week I developed a technique for making scalloped-edge cocktail napkins, and it is a game changer! Now I can have my cake and eat it too.
When I received Pfaff’s Creative Icon, I was completely focused on embroidering tunics for The Tunic Bible and it was intense. During this Coronavirus stay-at-home period, the Icon and I have developed a new relationship, and my more relaxed approach has led me to wonderful discoveries.
Would you believe the most difficult part of creating these cocktail napkins was cutting around the scallops?
I’m a long time fan of scalloped edge napkins, and was determined to figure out a suitable technique.

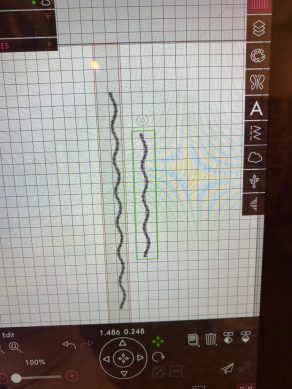
It all begins with a single stitch.
The Creative Icon offers a Sequence Creator feature, in which I can select a stitch, multiply it and save it as a single unit on the SewNet cloud. Amazing…..

I created two sequences and loaded them to the embroidery screen.
 After positioning the two sets of stitches, I saved them as one layer.
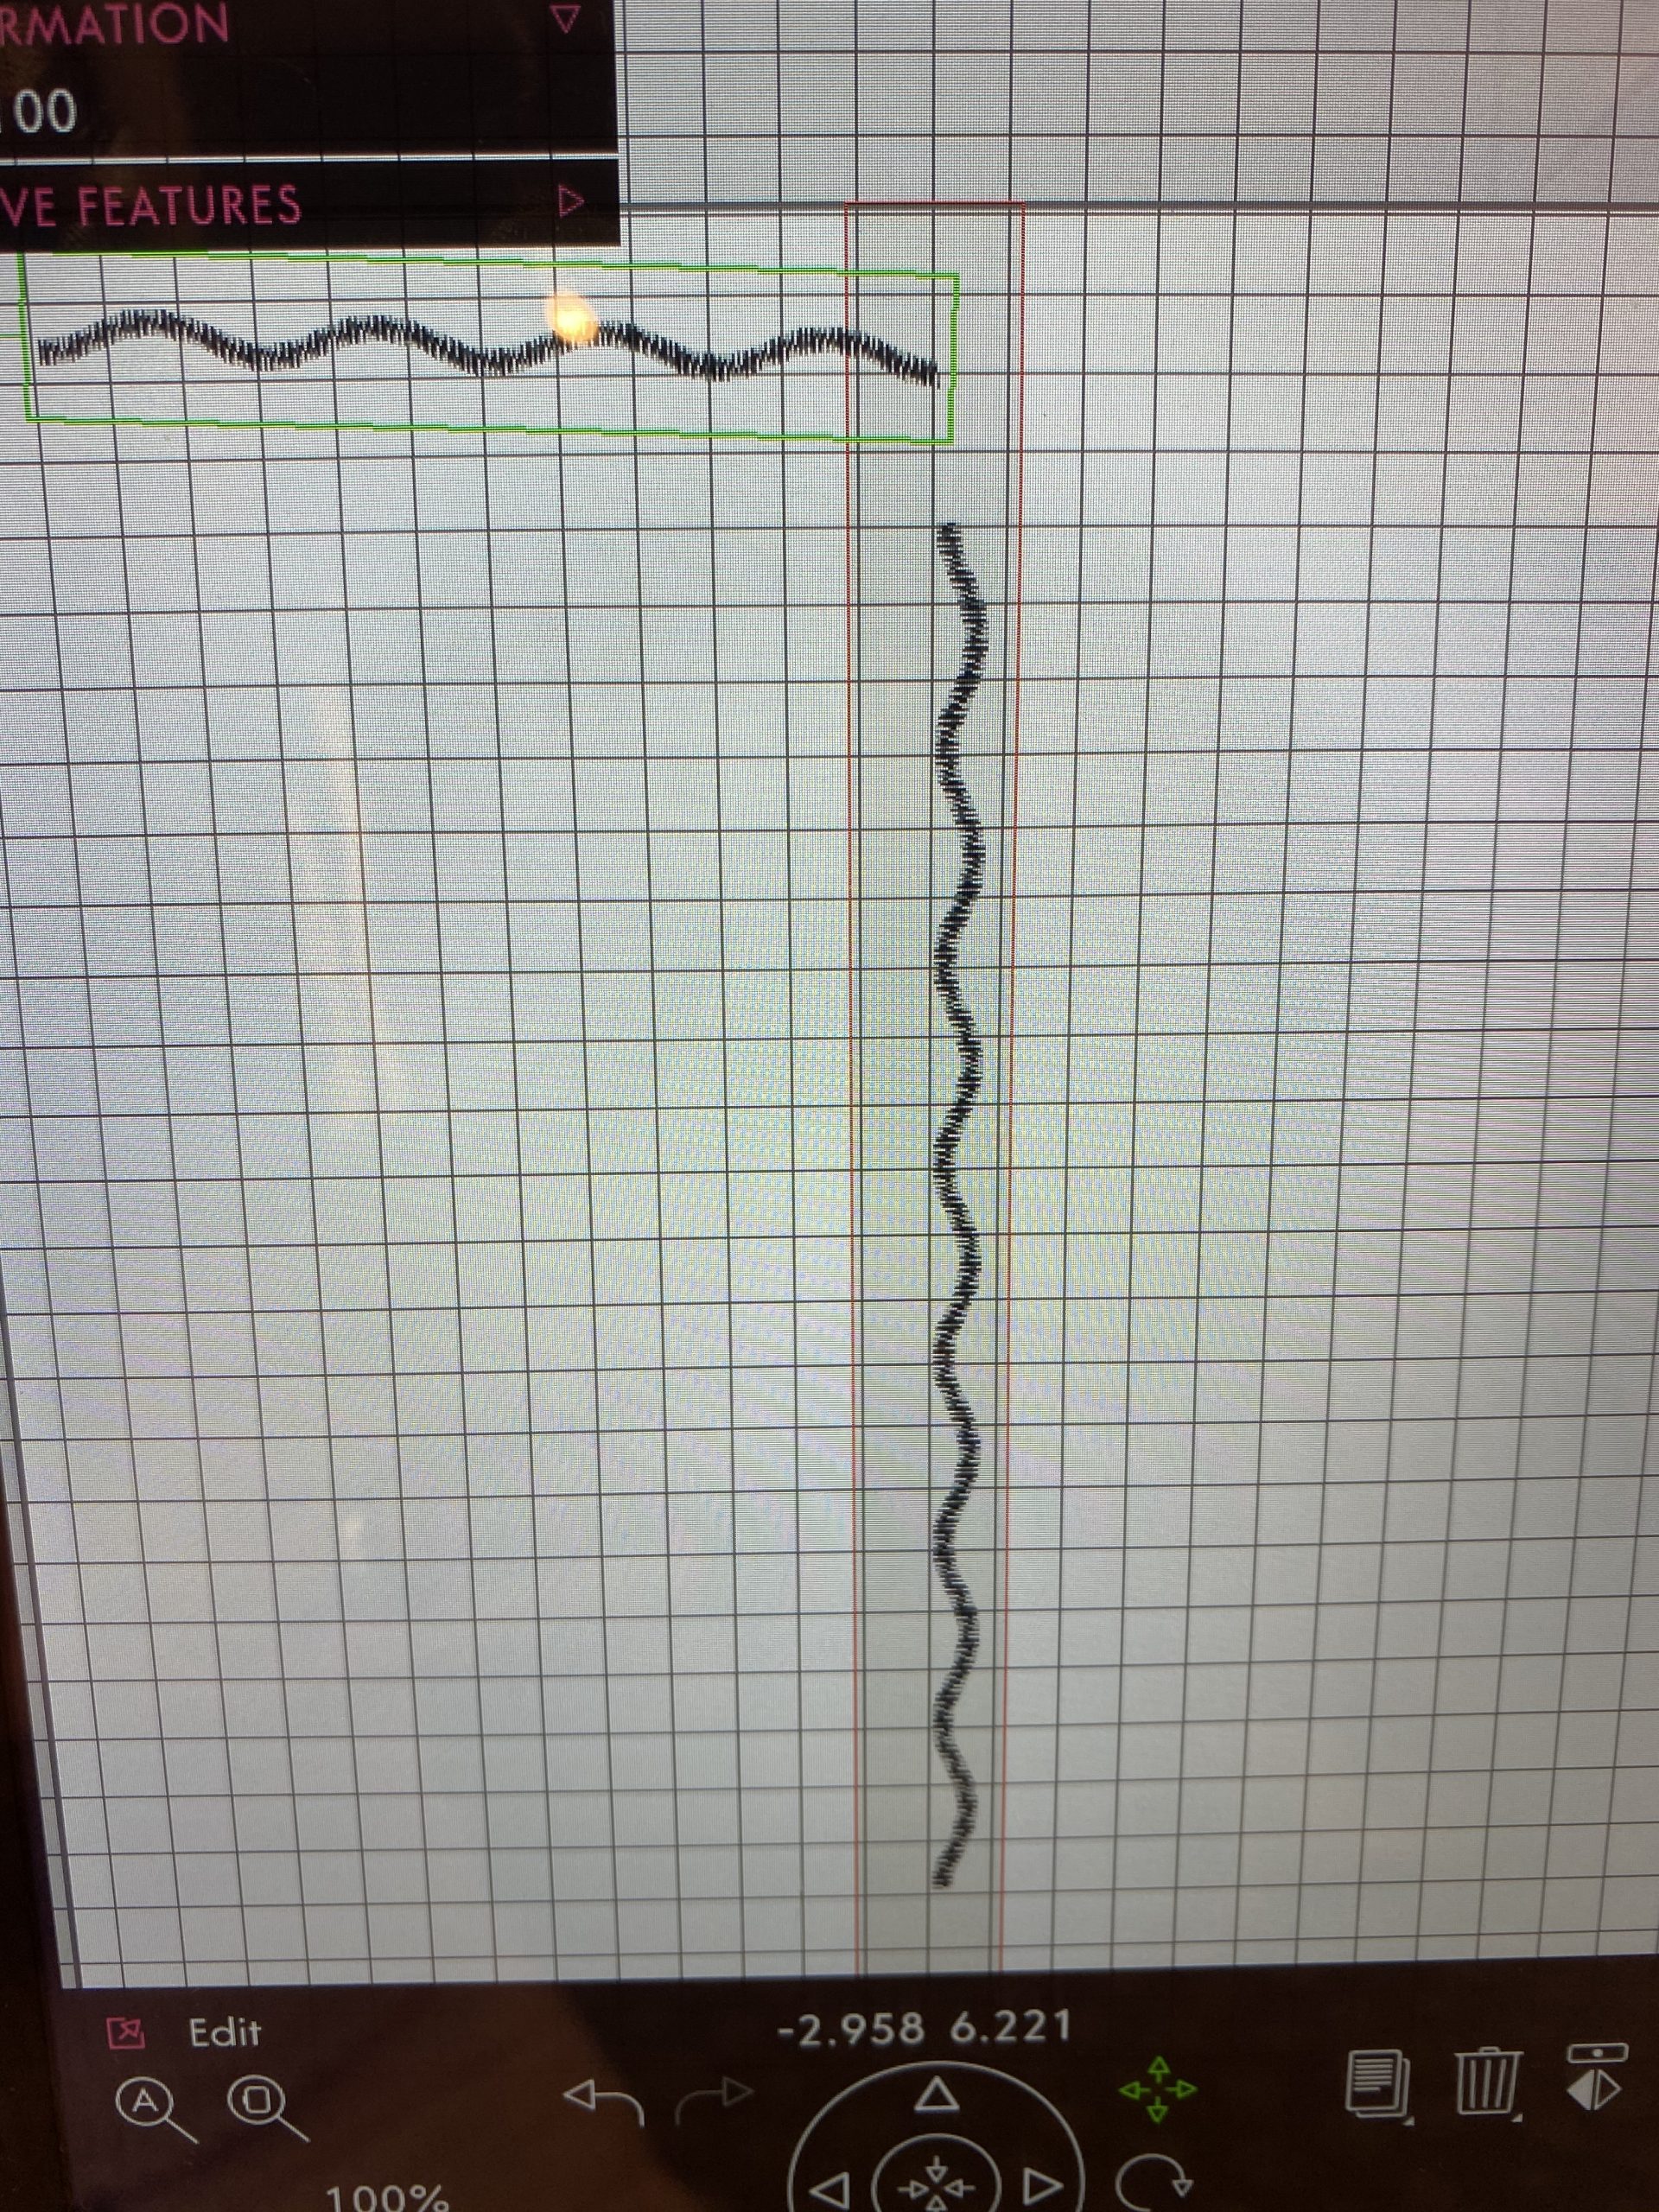
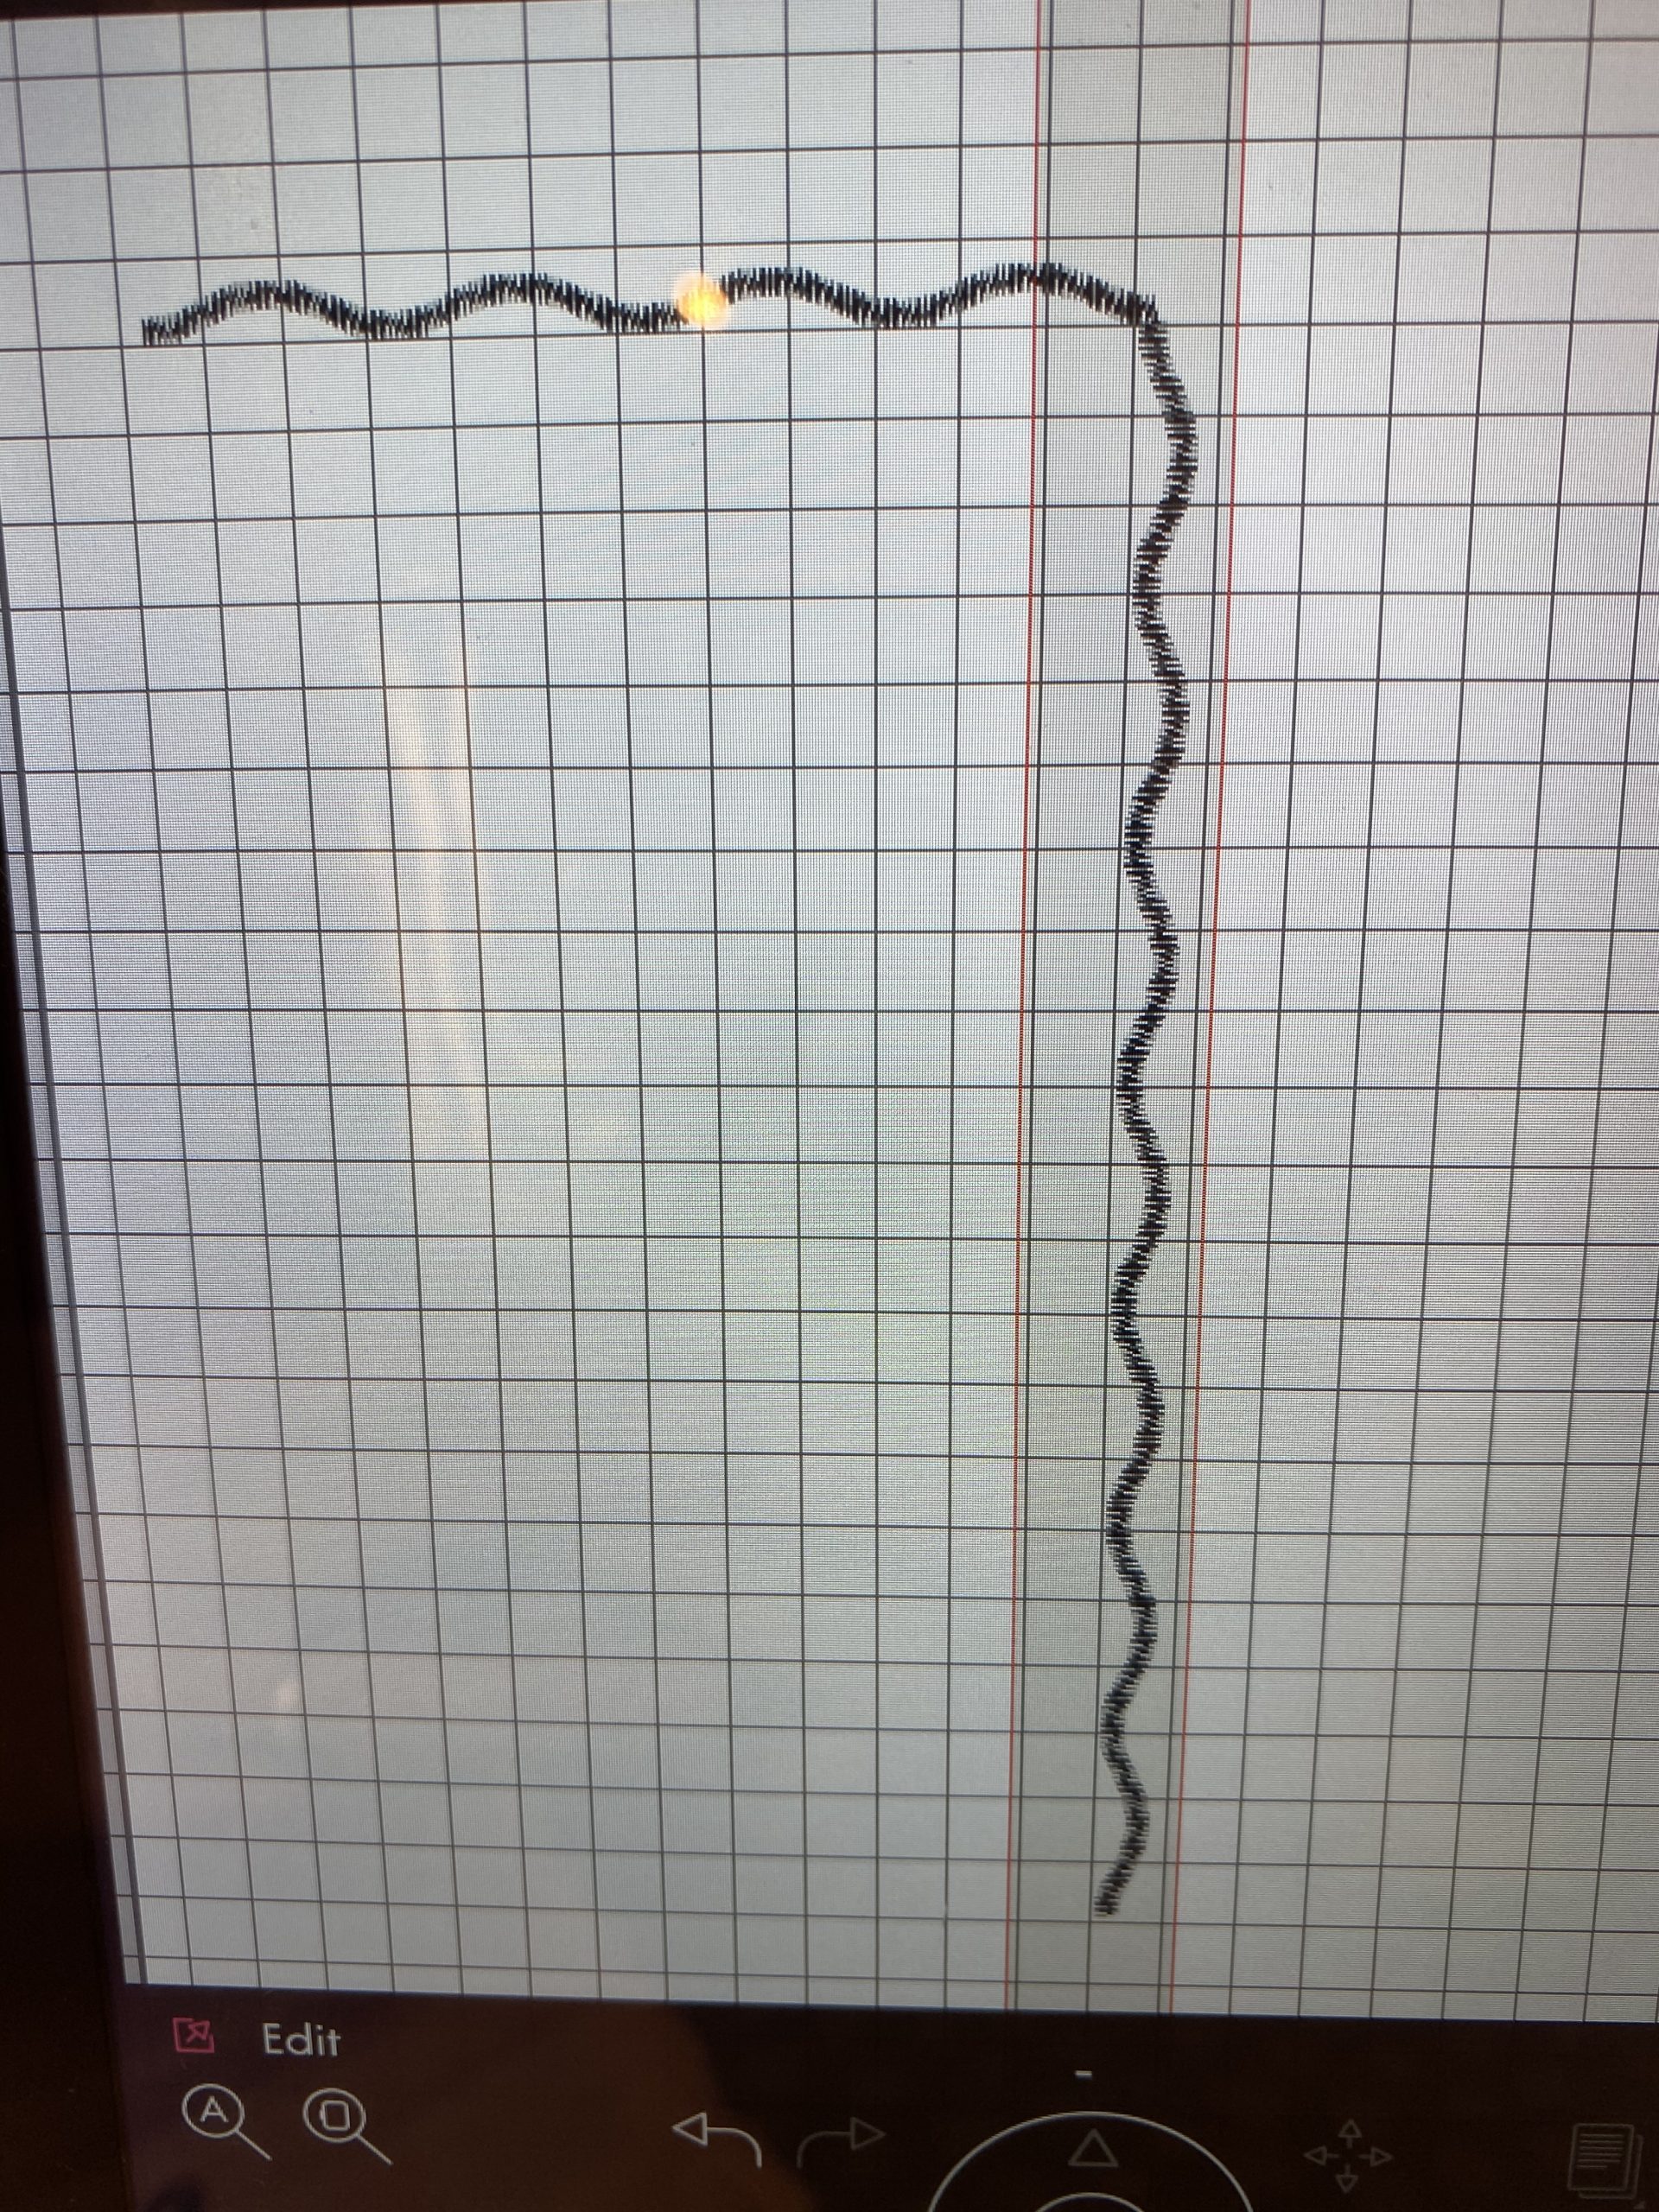
Next I copied the new layer, rotated and inverted it

After I positioned it I once again saved the design as a single layer, and saved it in the SewNet cloud. I named it Scalloped Border

Now, whenever I choose to make this napkin, I click on the design, place my fabric & stabilizer on the Creative Metal Hoop (with magnets) and push start.
I made the first few cocktails napkins using Amy Butler scraps before venturing into linen which is perfect for embroidering.

TRIMMING THE SCALLOPS

I quickly discovered the scalloped edge needs to be embroidered at least twice before cutting. Embroidering the scallop more than once will create a heftier border to guide the scissors. Should you cut into a thread, the design will not unravel. In addition, for me the secret to trimming the scallops successfully is:
Applique Scissors, which allow you to easily cut around curves. 
An Ottlite with a magnifying glass.

Fray Check. I use this around the edge only for security. 
Cocktail napkins are such fun to make because there is no protocol and anything goes! While my cocktail napkins are on the conservative side, I plan to have fun as I make these for gifts, and it’s never too early to think about the holidays 😉

Save those scraps!


Mollie Bobo
Posted at 09:18h, 16 AugustFabulous tutorial! Thank you.
goodbyevalentino
Posted at 09:21h, 16 AugustMy pleasure, Mollie! I’m so pleased with the entire process 😊
Susan Kelley
Posted at 09:26h, 16 AugustGlad to see you back. Always look forward to your posts and see what people in Charleston are doing. You are only a little north of me. So your clothing ideas and suggestions are usually spot on for my area. Hot and muggy with mosquitos galore! perhaps a virtual cocktail party? (One way to get rid of the ‘skitos!) We did manage a week in Blowing Rock with family which was nice because of all the restrictions. Your suggestions have really temped me to buy a Phaff machine. What nice Xmas gift it would create! Stay safe and keep up the postings. Have learned a lot from all of you bloggers!
goodbyevalentino
Posted at 09:44h, 16 AugustThank you so much, Susan! I live in the upstate of South Carolina, though we have a beach house at Edisto. I don’t know how I went so long without understanding the benefit of the sequence creator, but what a fabulous feature to offer. I love the Creative Icon, and you’re right ……… it would make a terrific Christmas present!
Patti
Posted at 09:57h, 16 AugustI love your work, including this. I’ve never been successful with scalloped edges and now I will be. Your combining the scallop motif and then stitching it twice is brilliant, one I’ve not seen before. Keep on creating and posting.
goodbyevalentino
Posted at 10:06h, 16 AugustThank you, Patti! Stitching twice or even three times makes an enormous difference 😊
Becky Thompson
Posted at 09:57h, 16 AugustI love your idea however you might try a different technique that is used with “in-the-hoop” (ITH) embroidery projects. Have you ever heard of Pellon’s 541 Wash-n-Gone? They sell it at WalMart in the sewing section with the pre-packaged stabilizers. Sulky also makes a wash-away stabilizer. Use this instead of regular non-water soluble stabilizer. After your embroidery is done, soak your project in the sink in warm water and the stabilizer melts away. No trimming or Fray-Check required. It’s like magic! Step 1 – Hoop wash-away stabilizer. Step 2 – Under your scallops, create a solid straight line of stitching that stitches out on the stabilizer as a placement stitch. Once that’s done, lay your fabric over the line and make sure it completely covers the line by at least 3/4″ on all sides. Step 3 – Stitch a 2nd straight line of stitching that can be 1mm inside the first one – this is called a tack down stitch. Remove the hoop and trim the fabric around the 2nd row of stitching. Step 4 – Complete your project just as you described above. Those two initial rows of stitching will serve as a good foundation for your scallops (you might have to widen them a tiny bit to cover) that will prevent puckering in the zigzagging of the scallops. When you’re finished, remove the project from the hoop and soak in warm water and lay flat to dry. You’ll love this technique and become an embroidery digitizer in the process. 🙂 Good luck!
goodbyevalentino
Posted at 10:08h, 16 AugustBecky ~ Thank you for this information. Would you be willing to do a FaceTime tutorial with me? I’d love to know more and don’t understand everything you’ve written. So much to learn!
goodbyevalentino
Posted at 14:59h, 16 AugustBecky ~ Are you telling me I don’t have to trim the fabric away from the scallops? This sounds too good to be true!!!
Becky Thompson
Posted at 14:22h, 19 AugustExactly! That’s the beauty of water soluable stabilizer. You can email me at powertoolswiththread@outlook.com and we can set something up if you’re interested. I’m a YouTuber and it would be great to collaborate. My channel is Power Tools With Thread and I do a lot of embroidery tutorials. I’d love to do one to show users how to make your lovely napkins. 🙂
goodbyevalentino
Posted at 06:36h, 20 AugustI did. Many thanks.
Vicki Wolfe
Posted at 10:04h, 16 AugustThis edge also works well on a baby blanket. I have made hundreds over the last 40 years and I do 2 rows of scallop stitching to create a “band” look. Holds up beautifully to a LOT of washing! For the top fabric layer I use a fabric with a natural grid ie check, plaid, etc them I know where to stitch.
goodbyevalentino
Posted at 10:09h, 16 AugustI bet those baby blankets are beautiful! Two rows of scallop stitching are next on my list. Many thanks, Vicki!
Libby Paul
Posted at 10:11h, 16 AugustYour new twists on sewing is the epitome of firing the neurons to reverse aging and prevent cognitive decline. Not that we are old, but we all must keep our brains sharp. What a better way then adding scallops to your lovely napkins!
goodbyevalentino
Posted at 10:19h, 16 AugustLOL – thanks so much, Libby! I still believe I’m twenty years younger and you certainly live like you’re 30 years younger 😊
Gerhild Turner
Posted at 10:41h, 16 AugustWhat a great idea! I love the look.
goodbyevalentino
Posted at 11:28h, 16 AugustThank you, Gerhild!
Laura Casey
Posted at 11:30h, 16 AugustThese are fab and cute! I’ve barely mastered my Bernina #370…..can’t imagine a embroidery machine to conquer….lol.
But keep the posts up…love to see your makes. Also think your tunic dress is the bomb 😘….I’m 70+ but feel 50!
Laura…..
goodbyevalentino
Posted at 16:42h, 16 AugustThank you, Laura – Age is a state of mind in my opinion! These embroidery machines are user friendly, but offer endless possibilities. Always something to learn😊
Heather Myers
Posted at 13:14h, 16 AugustGreat ideas! I also like remembering the garment made when I see the fabric. 😊 Another reason to save small pieces! Thanks.
goodbyevalentino
Posted at 16:44h, 16 AugustMany thanks, Heather! I never expected pulling out the box of scraps for masks to lead me to napkins, but the scraps are sentimental to me as well 😉
Suzanne Landau
Posted at 13:27h, 16 AugustHow lovely they look. I bought a dozen cream linen hand embroidered serviettes in the little village of Omodos in the Troodos Mountains of Cyprus, A year later we went back and I bought another half dozen! But yours are even nicer. Can you please tell me what thread you used please?
goodbyevalentino
Posted at 16:51h, 16 AugustI bet your napkins are exquisite, Suzanne! I used Coats & Clark Trilobal Embroidery Thread. I’ve been pleased to promote their products for nearly 3 years now. The thread is 100% polyester and fade resistant.
PS – I’ve always wanted to visit Cyprus 😉
Mary Funt
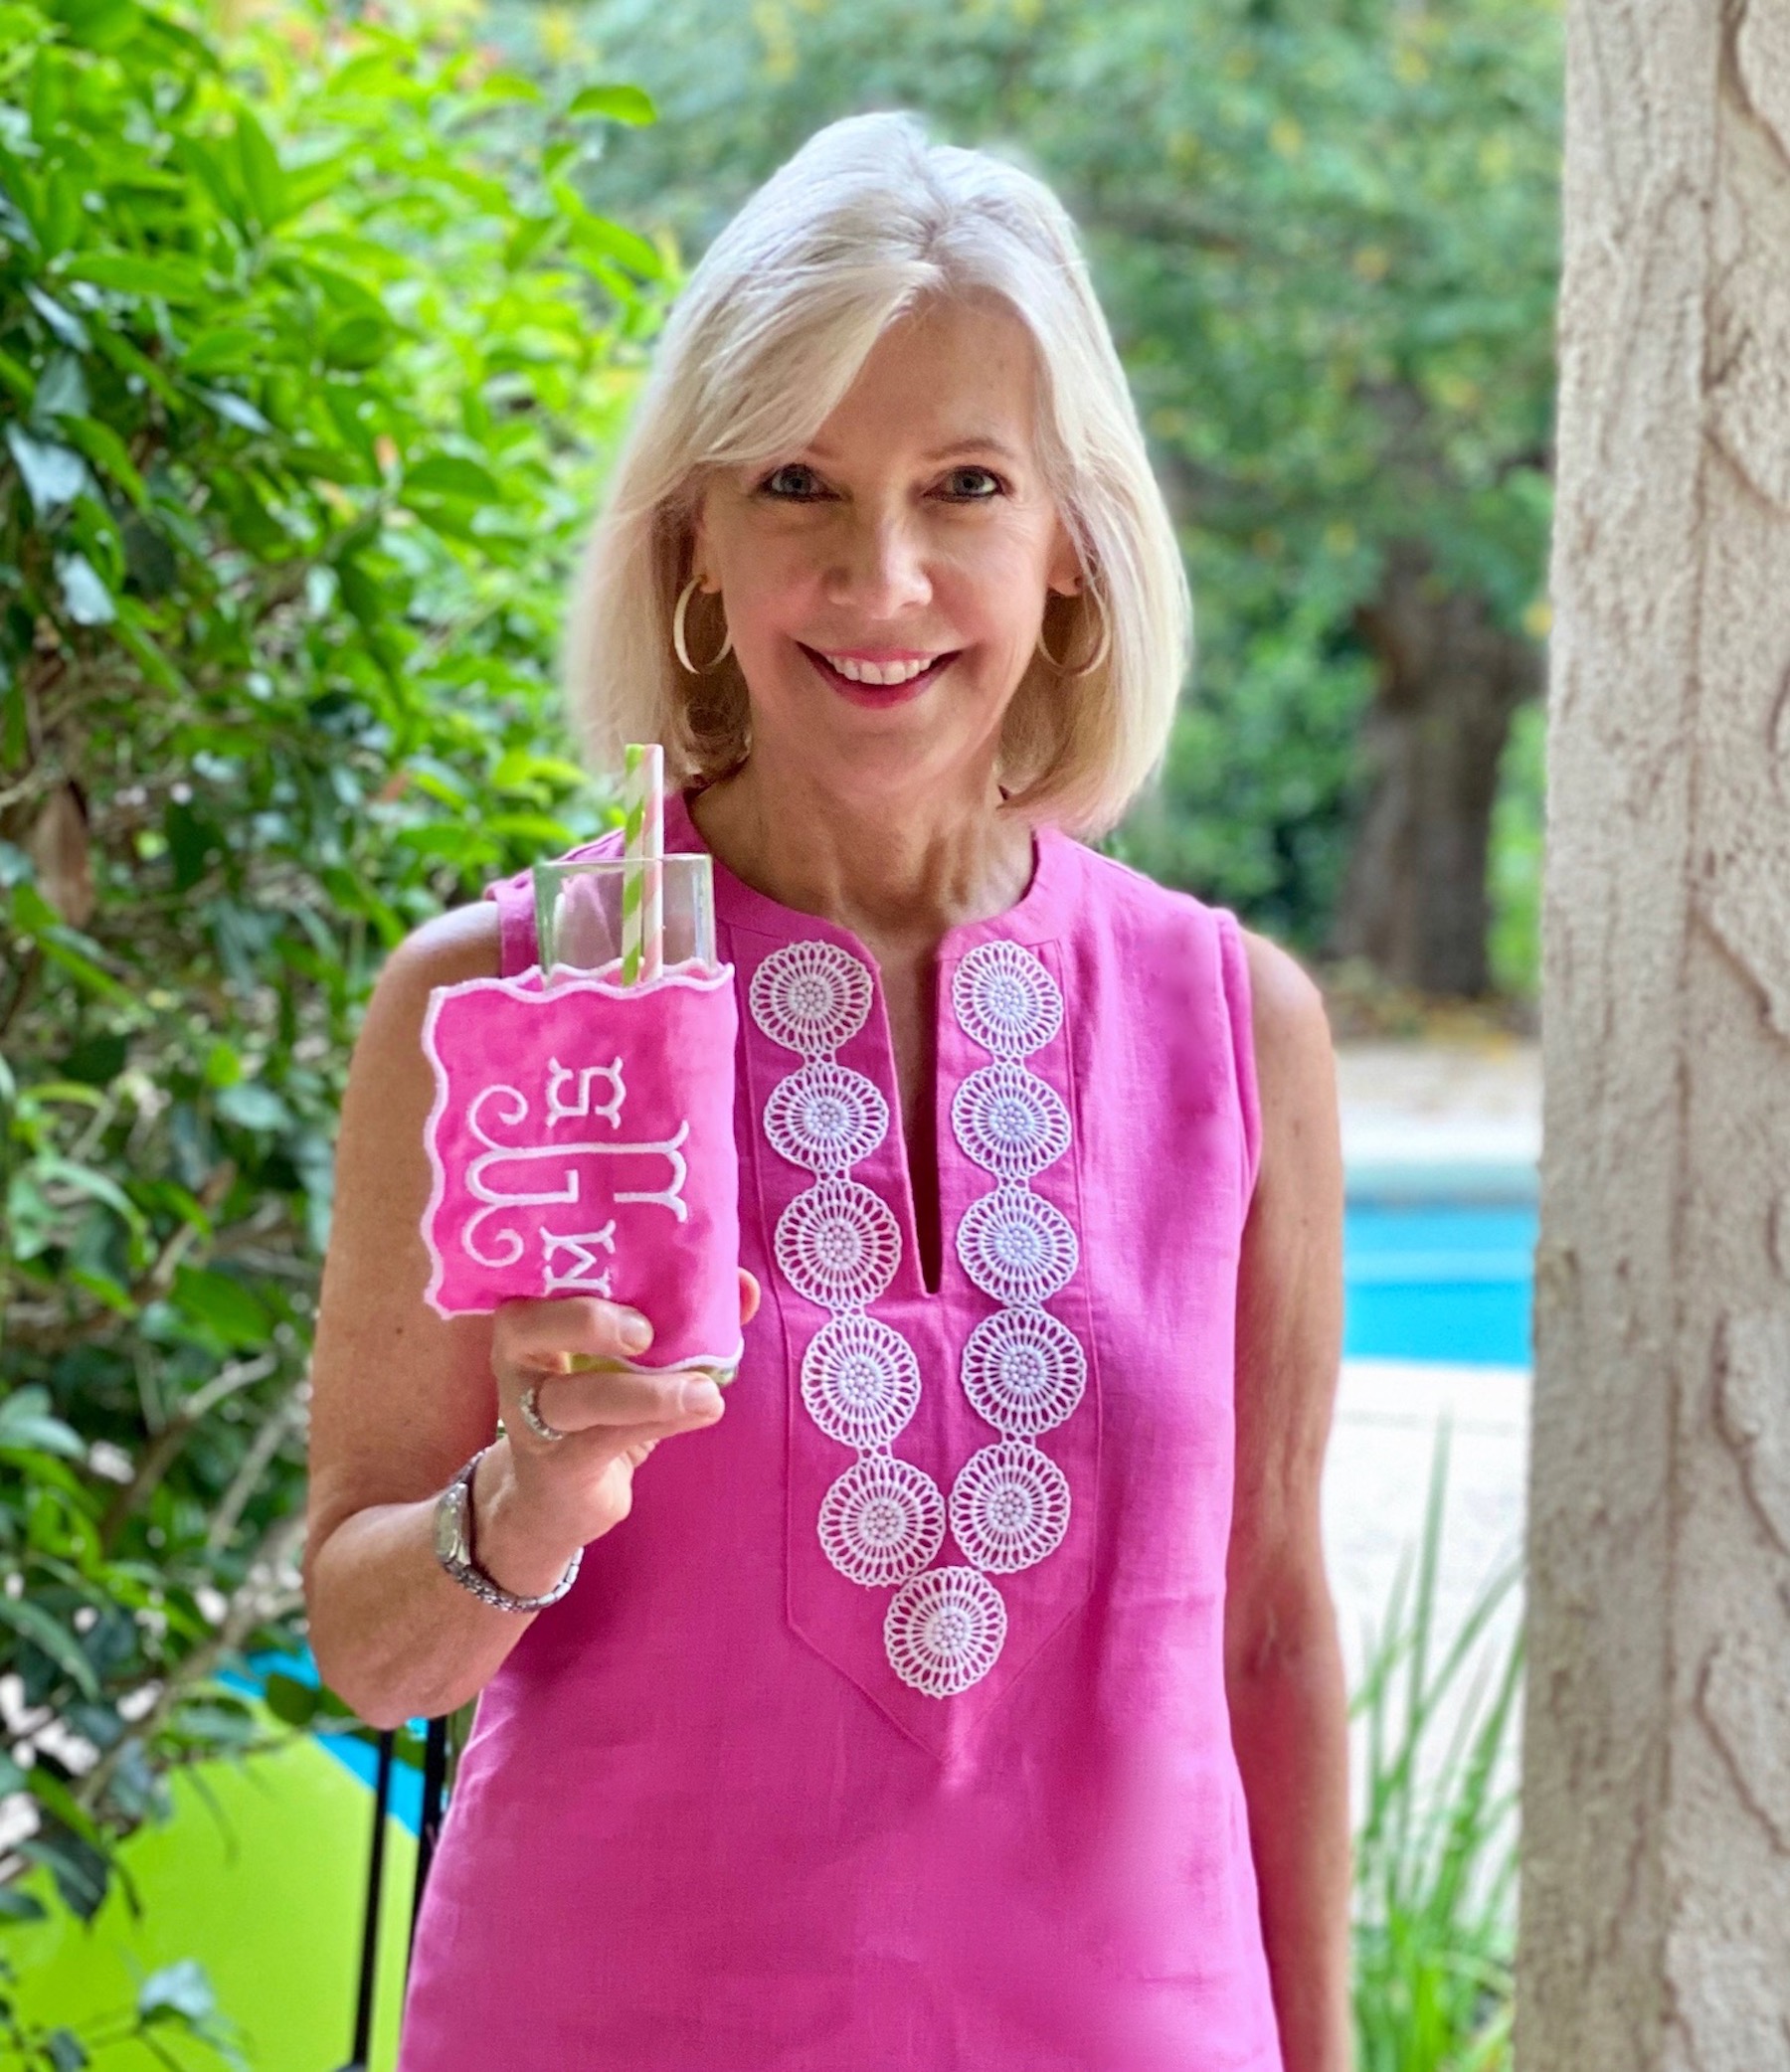
Posted at 14:33h, 16 AugustWhat a wonderful assortment of colorful napkins. Even if you can’t entertain, it’s nice to treat yourself. I like Becky’s idea to eliminate the tedious trimming. I’ve also used Fiber Etch which dissolves natural fibers but her way sounds more efficient. I love the bright pink tunic and matching napkin.
goodbyevalentino
Posted at 17:00h, 16 AugustThank you, Mary – it’s been a fun project. Are you saying Fiber Etch will remove the outside fabric around the scallop border?
Maggie Edger
Posted at 15:40h, 16 AugustFun to make and fun to use. A winner!
goodbyevalentino
Posted at 17:01h, 16 AugustHi Maggie!
These are super fun to make, and you’re right….. I’ll use them 😉
Jennifer Shaw
Posted at 16:42h, 16 AugustWow, these are so beautiful!! I love scalloped edges on tablecloths and napkins. Now you are inspiring me to want to try doing this on my Bernina sewing machine!
goodbyevalentino
Posted at 17:02h, 16 AugustGo for it Jennifer! Many thanks for the comment 😊😊
Kathy Fromme
Posted at 18:13h, 16 AugustLove your project! If you dislike cutting around the scallops, you need to use your cutwork needles to do the work for you’ you can bring your design your created at the machine into the Premier +2 software and turn it into cutwork. I’d also recommend using Inspira Aqua Magic or Inspira Dissolve a way Max. It will make your project even quicker!
goodbyevalentino
Posted at 06:05h, 17 AugustThank you, Kathy! I’m loving the advice I’ve received from this post. Someone else mentioned this to me on Instagram, and I plan to learn this technique 😉
Judy Pineda
Posted at 23:31h, 16 AugustYour napkins are beautiful!! How fun!!
goodbyevalentino
Posted at 06:06h, 17 AugustThank you so much, Judy!
Eleanor Pollack
Posted at 08:04h, 17 AugustNice use of time spent distancing, Sarah. Sewing machines can do so much these days that one really must have discovery days. BTW, and not to step on any toes if you have a relationship, but after discovering June Taylor’s Fray Block, nothing else will do. When it dries, you can’t tell it has been used; you don’t have any stiffness at all. Readily available online or at JA or other sewing related stores.
goodbyevalentino
Posted at 06:35h, 18 AugustEleanor,
Thank you so much for this tip! I just ordered a tube on Amazon 😊
So nice to hear from you and hope all is well.
Linda L
Posted at 12:09h, 17 AugustLove the scalloped napkins! Great job and thanks for sharing all the details of how you did this!
goodbyevalentino
Posted at 06:36h, 18 AugustThank you, Linda! If you read the comments, you’ll see I’m receiving lots of tips and advice for making the process easier, more efficient and better. I have a feeling I’ll be writing another post 😉
Karen Of Fifty Dresses
Posted at 14:07h, 17 AugustWhat fun! These are so cheery and so pretty!
goodbyevalentino
Posted at 06:36h, 18 AugustThank you, Karen!
Rhonda Gatti
Posted at 08:26h, 19 AugustWhat size is the finished napkin? They are so lovely!
goodbyevalentino
Posted at 10:01h, 20 AugustThank you, Rhonda! 5.5 x 9.5 is the finished size. I might make the napkins 6 x 10 next time around. I was making sure the design would fit in the hoop I was using.